Migration to BricsCAD Made Simple

INTRODUCTION
The shift from AutoCAD® to BricsCAD is not just a change in software; it’s a strategic upgrade to greater efficiency and cost-effectiveness. BricsCAD offers a familiar yet enhanced experience, ensuring a smooth transition without disrupting your well-honed workflow. This guide is your comprehensive resource for migrating from AutoCAD® quickly and without hassle.
With BricsCAD’s familiar environment and extensive functionality, including Xrefs, plotting, sheet sets, PDF attach/import, and viewports, your move will feel intuitive and straightforward.
Whether you’re an individual designer or a large team, the tips and pointers included will expedite your switch, making the familiarisation with BricsCAD’s powerful features a seamless experience.
The BricsCAD Advantage
BricsCAD isn’t just another CAD program; it’s a thoughtfully designed solution that understands the needs of AutoCAD® users.
With a similar command structure, user interface, and support for existing DWG files, it ensures that the switch is intuitive. But where it stands out is in its advanced features, native LISP support, and a flexible licensing model that promises a significant reduction in costs without compromising on capabilities.
Tailored Migration Path
Understanding the apprehension associated with changing a fundamental tool, the Migration to BricsCAD Made Simple guide lays out a clear, step-by-step path. From installation to transferring customisations, every step is designed to be straightforward.
Whether it’s your tool palettes, plotter files, or LISP routines, the guide ensures that you can bring your personalised environment into BricsCAD effortlessly. By following the below link, you can enrol in the Bricsys ‘Migrating to BricsCAD’ learning page with video tutorials that provide detailed guidance on every step of the journey.
Beyond Software – A Supportive Transition
Transitioning to BricsCAD is more than just installing new software. It’s about ensuring that your team feels confident and supported throughout the process.
At KTF Software, we aim to partner with our customers to offer a consultative approach to CAD migration with comprehensive training resources and responsive customer support where every question is an opportunity for learning and growth.
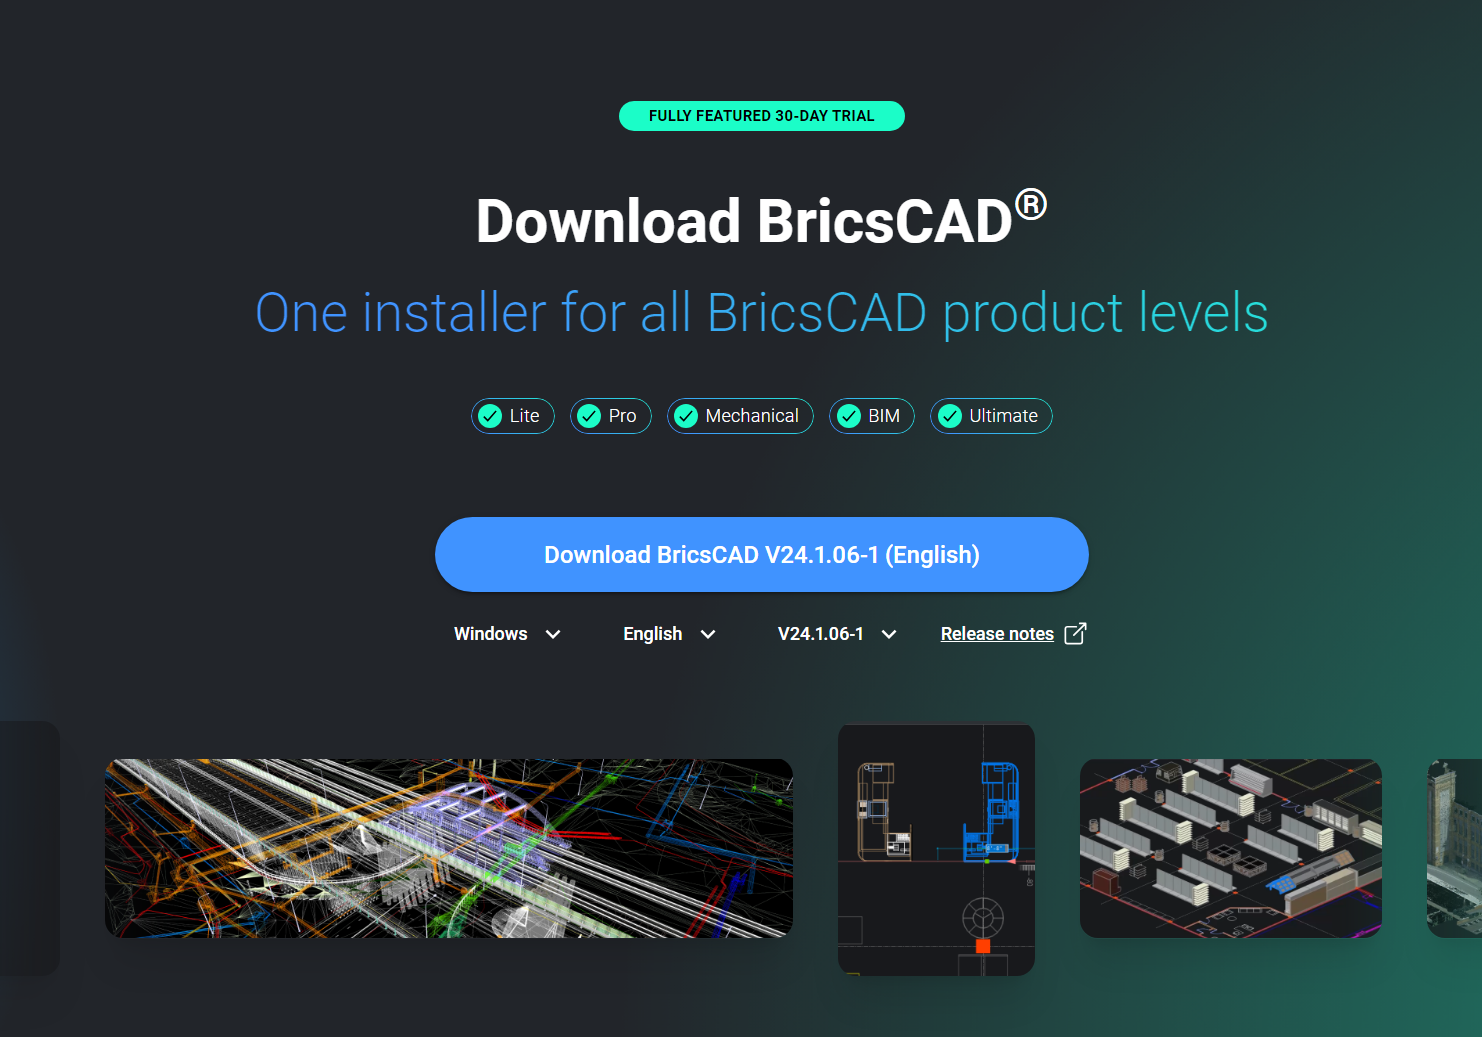
Step 1: Start your journey with BricsCAD – Create your account and download the free trial
Setting up your Bricsys account is a breeze and takes approximately 30 seconds. Visit the official Bricsys website, fill in the necessary details, and you’re ready to move to the next step.
Download the BricsCAD free trial. This process is straightforward, designed to get you up and running with BricsCAD in just a matter of minutes.
After the download completes, locate the installer file on your computer. The installation process may vary slightly based on your operating system, but it typically involves double-clicking the installer file and following the on-screen instructions.
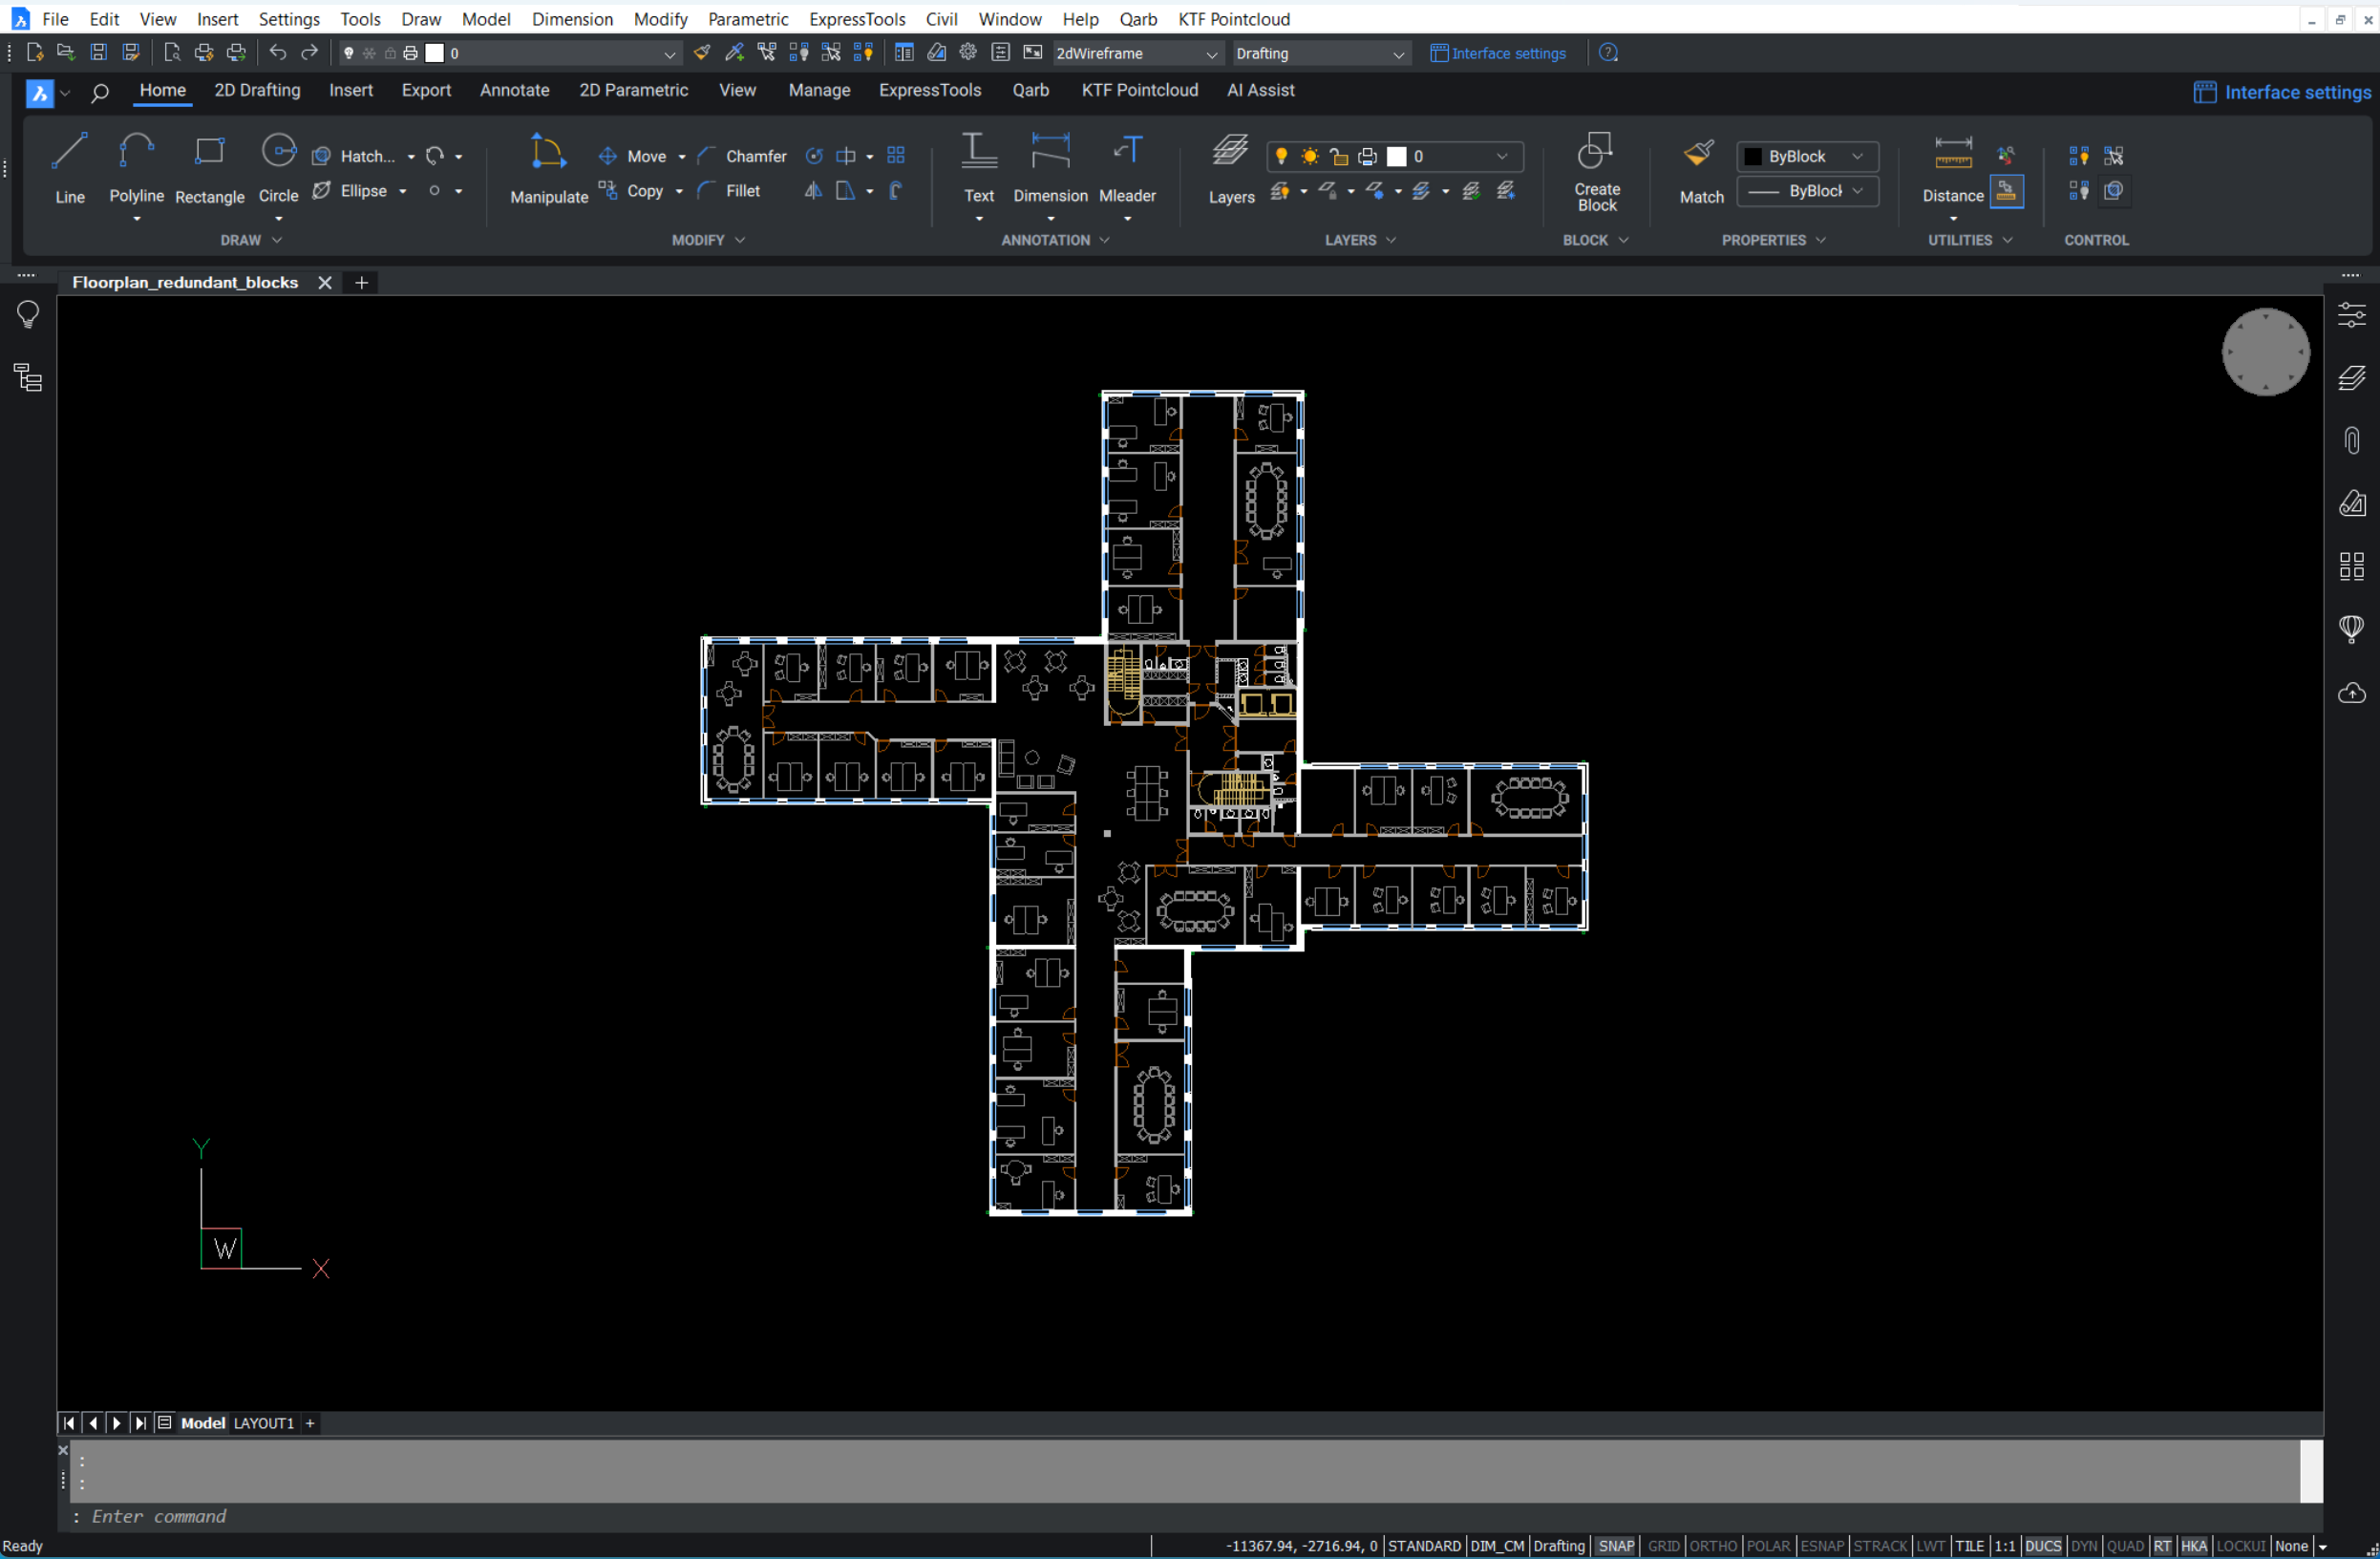
Step 2: Navigating the Intuitive Interface of BricsCAD
Embark on a journey of familiarity and efficiency with BricsCAD’s user-friendly interface. BricsCAD is designed to be intuitive, ensuring a smooth transition for users accustomed to other CAD programs. The ‘out-of-the-box’ installation offers a consistent look and feel, minimizing the learning curve and maximising productivity from the start.
Familiar Features for Immediate Comfort
- Paper & Model Space: Seamlessly switch between 2D drafting and 3D modeling environments.
- Ribbon/Panel Interface: Access tools and functions quickly with a well-organised ribbon and panel layout.
- Command Line & Status Bar: Utilise familiar command inputs and monitor your project’s status effortlessly.
- Similar Commands and Menus: Find and execute the commands you already know with a similar menu structure.
- Familiar Toolbar Layout: Navigate through a recognisable toolbar layout, enhancing your workflow efficiency.
- Dockable or Floating Panels: Customise your workspace by docking or floating panels as per your preference.
- Context Menus: Right-click to access context-specific commands, speeding up your design process.
- Document Tabs: Manage multiple documents easily with accessible and organised tabs.
- Multiple Workspaces: Tailor BricsCAD to your needs with customisable workspaces for various disciplines.
Step 3: Begin the Migration to BricsCAD
Transitioning to BricsCAD is a significant step forward in optimising your CAD workflows. This phase is crucial in ensuring a seamless migration, minimising downtime, and maintaining the integrity and accessibility of your files and custom settings. Follow this structured approach to efficiently transition your operations to BricsCAD
1. Pre-Migration Setup:
Understand File Access: Recognise that BricsCAD, like any CAD program, frequently accesses various files. These files are often located on network locations, making it essential to plan for their accessibility.
Configure BricsCAD SETTINGS: Utilise the BricsCAD SETTINGS command to meticulously set pathing locations for support files, XRef paths, plotter locations, and more. This initial setup is crucial for ensuring that your files are correctly linked and accessible.
2. Run Parallel Installations:
Establish Network Folders: Set up network folders to ensure that all necessary files are accessible to both your current and BricsCAD systems.
Migrate Customisation: Transfer customisations including CUIs, aliases, and script files to maintain your preferred workflow in BricsCAD.
Replicate Peripherals: Ensure that all peripherals, such as printers, plotters, and third-party applications, are correctly set up and functioning with BricsCAD.
Perform a Clean, Minimum Migration: Migrate only what you need. This reduces complexity and potential issues, making the transition smoother.
Test BricsCAD Installation: While still running your current setup, thoroughly test BricsCAD to ensure that all aspects of your workflow are functioning as expected.
3. Identify and Migrate Essential Tools:
Custom Tools: Identify and migrate essential custom tools such as CUIs, .pgp files for aliases, and LSP/ARX files. Note that some files, especially scripts and routines (like those in VB or .NET), may need recompilation. Consult the BricsCAD Developer Portal for guidance.
Design Assets: Transfer your design assets including tool palettes (.xtp), fonts (.shx files), sheet sets (DST files), templates and blocks (DWG/DWT), and printing configuration files (PC3, PMP) along with custom hatch patterns.
Create a New BricsCAD Profile (.arg): Based on the migrated tools and settings, create a new BricsCAD profile to streamline your workflow in the new environment.
4. Clean-Up and Optimisation:
Remove Redundancies: As you migrate, take the opportunity to clean up your system. Remove outdated backups, obsolete programs, and simplify your folder structure.
Optimise Design Elements: Clean blocks/palettes and ensure that only the essential, most-used elements are migrated to maintain a lean and efficient system.
Step 4: Test a Project with BricsCAD
Transitioning from AutoCAD® to BricsCAD is seamless, maintaining the familiarity of your drafting environment.
Test BricsCAD by opening existing drawings to observe the preserved look and feel. Your favourite commands operate just as expected.
Engage in typical modifications – adding text, inserting blocks, or creating dimensions to evaluate BricsCAD’s compatibility.
Use the PLOT command to check plot settings and outputs, ensuring they meet your standards.
This direct comparison highlights BricsCAD’s capability to match AutoCAD® functionality, ensuring a smooth transition for all your project needs.
The move from AutoCAD® to BricsCAD is a step towards embracing innovation, efficiency, and value. It’s an informed decision to choose a platform that aligns with the future of design and construction industries. With BricsCAD, you’re not just adopting new software; you’re upgrading to a tool that grows with your aspirations.
CONTACT US
Our experts are on hand to answer any of your queries so feel free to get in touch, we’re here for you.